
Setup
KeyLayers has three parts: the app you edit your keymaps in, a helper that remaps your keys, and an input service that reads the keyboard. macOS wants your approval for each of them, in three steps.
The status area at the bottom of the KeyLayers window always shows what's missing and offers a button for the next step. When everything is approved, it says Remapping active.
1. Login Items
KeyLayers asks macOS to run the helper and the input service in the background. macOS holds both until you approve them.
In KeyLayers, click Open Login Items… in the status area.


System Settings opens Login Items & Extensions. Under App Background Activity, KeyLayers is listed once, as "2 items": the helper and the input service. Turn on its switch and enter your password.
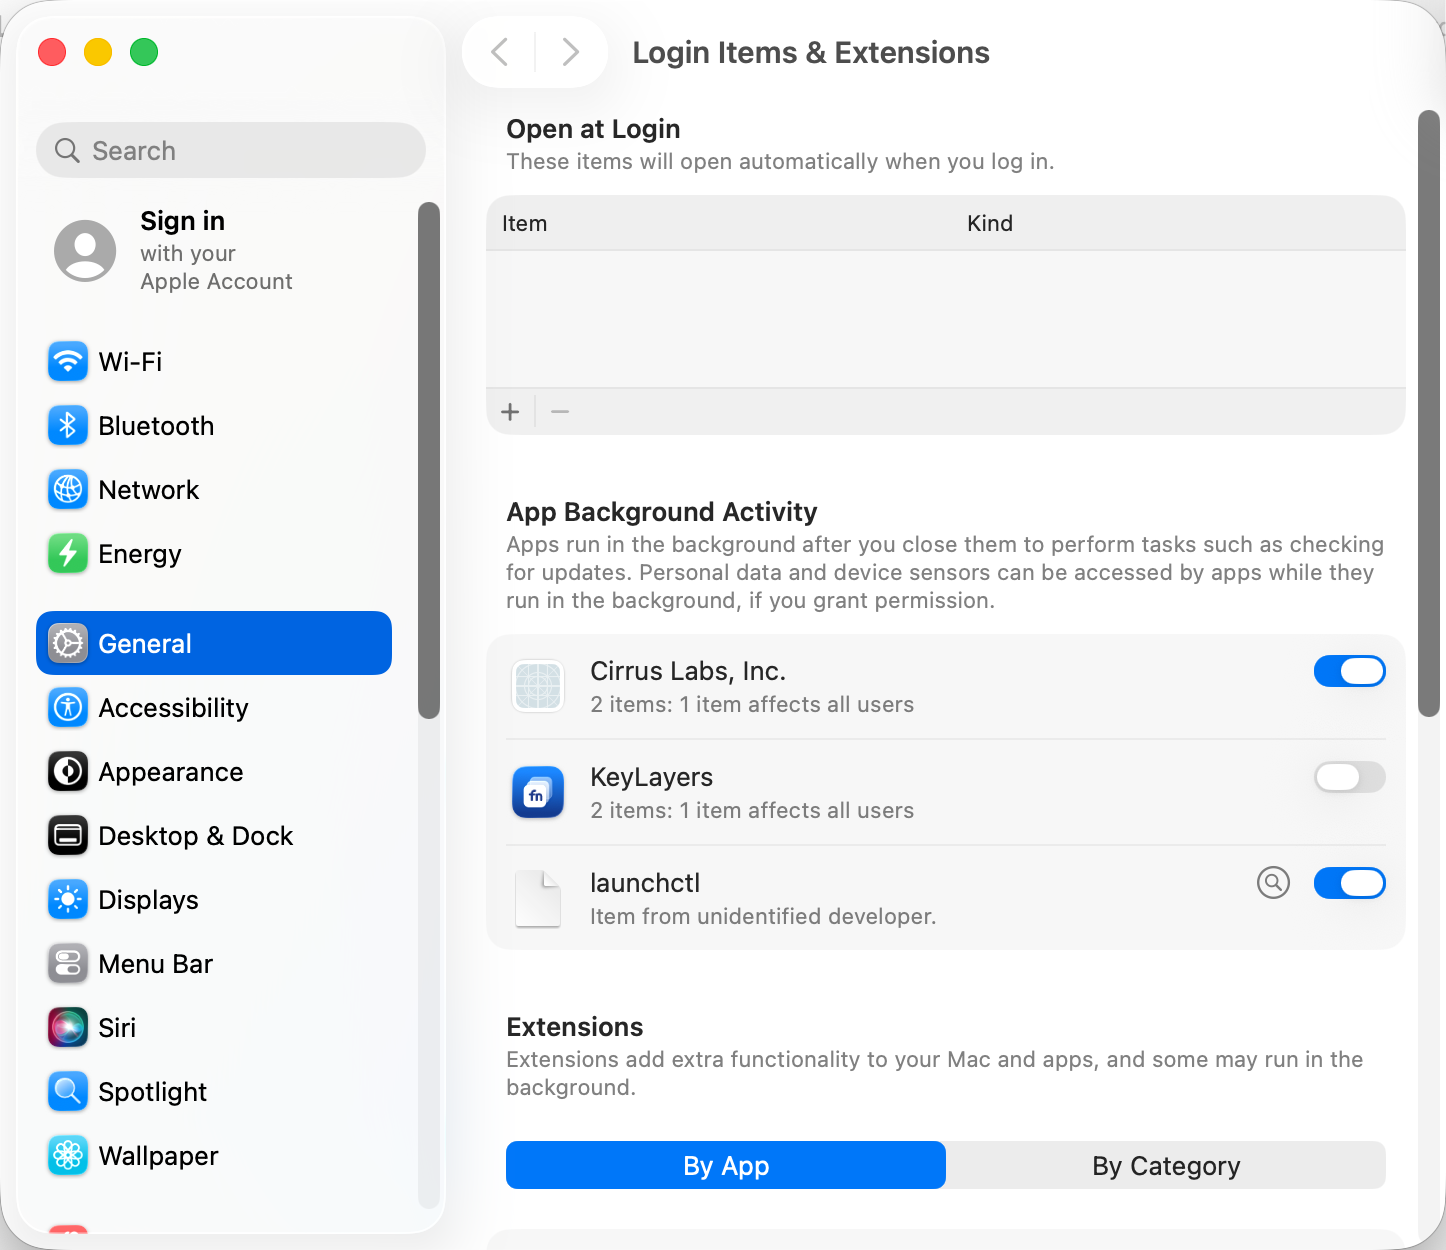
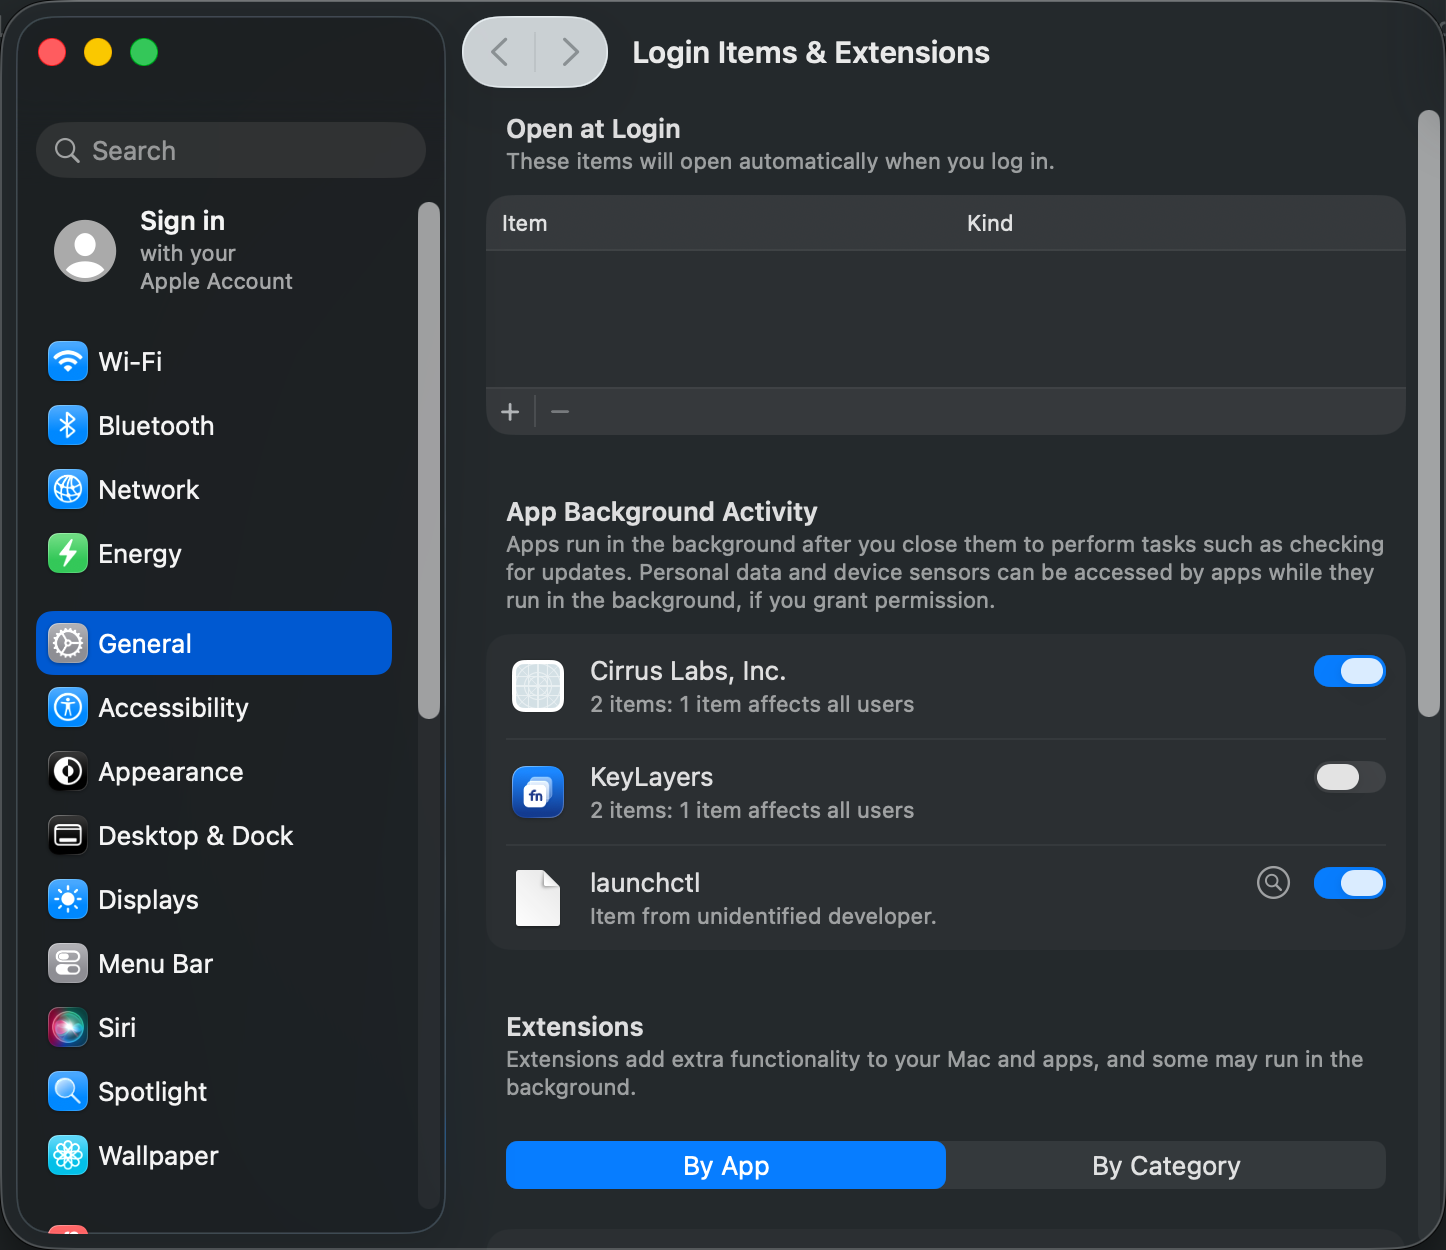
If the status area then says approve “KeyLayers” in Login Items, the input service is still waiting: check that the switch is on.


2. Accessibility
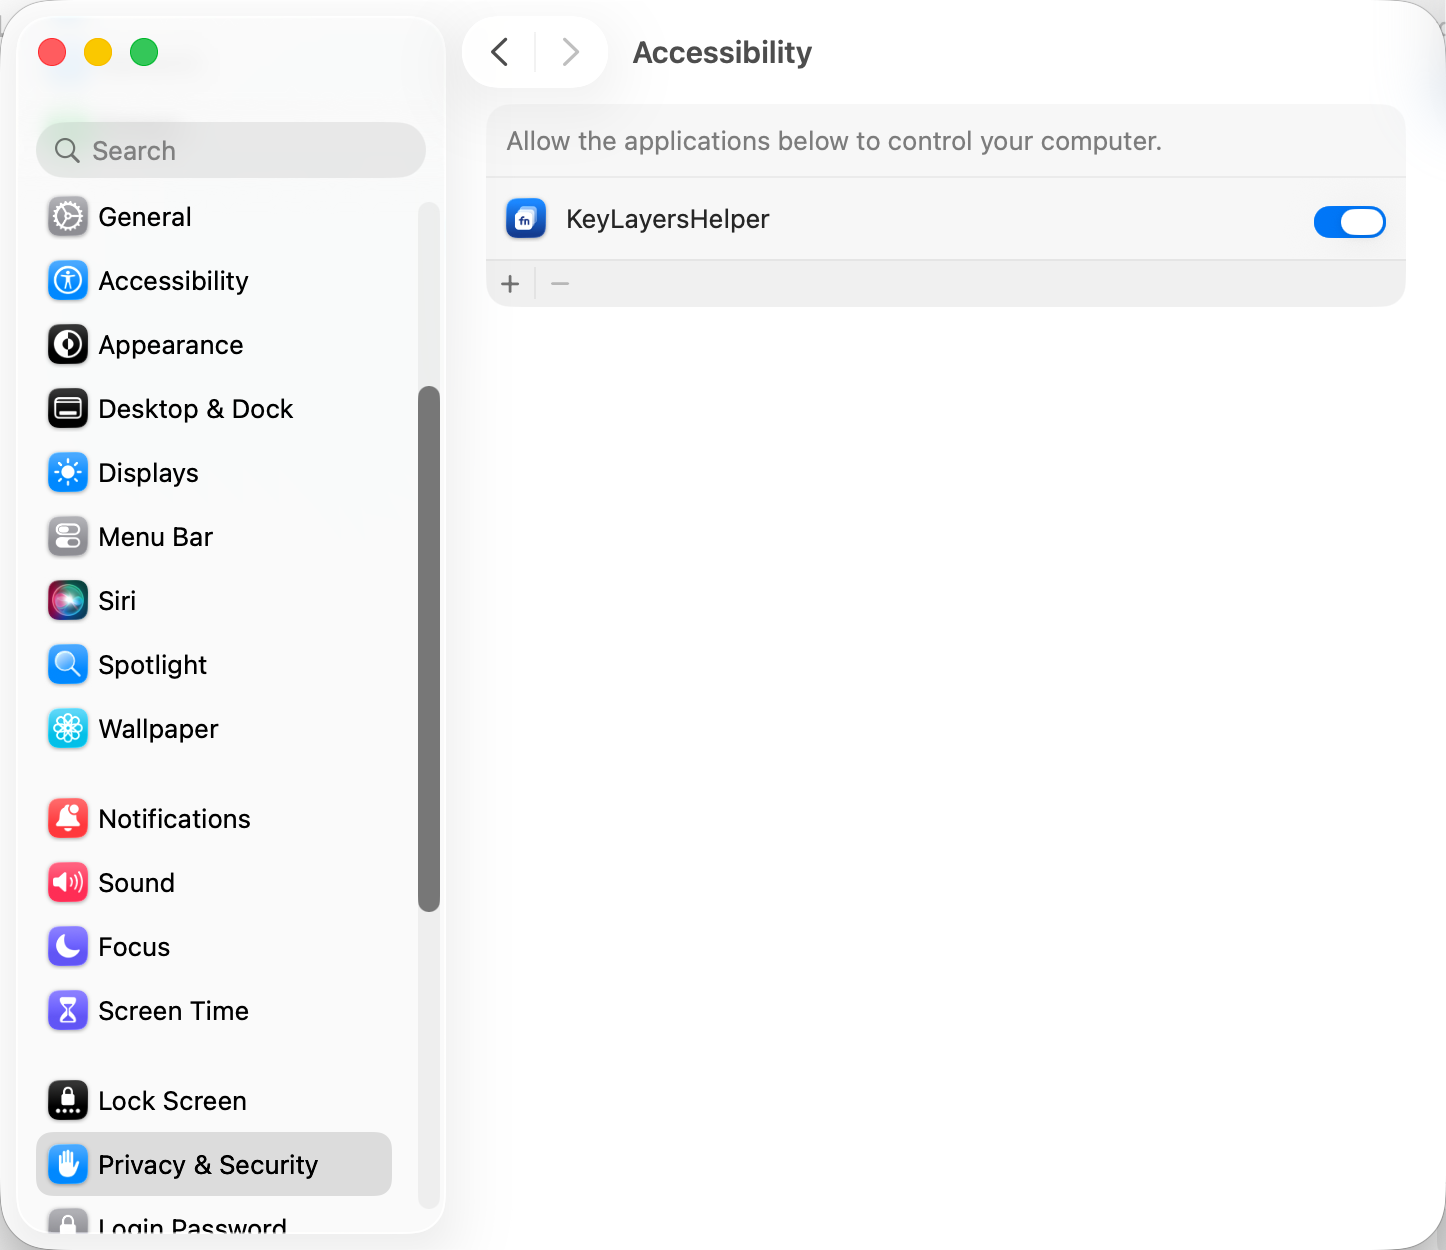
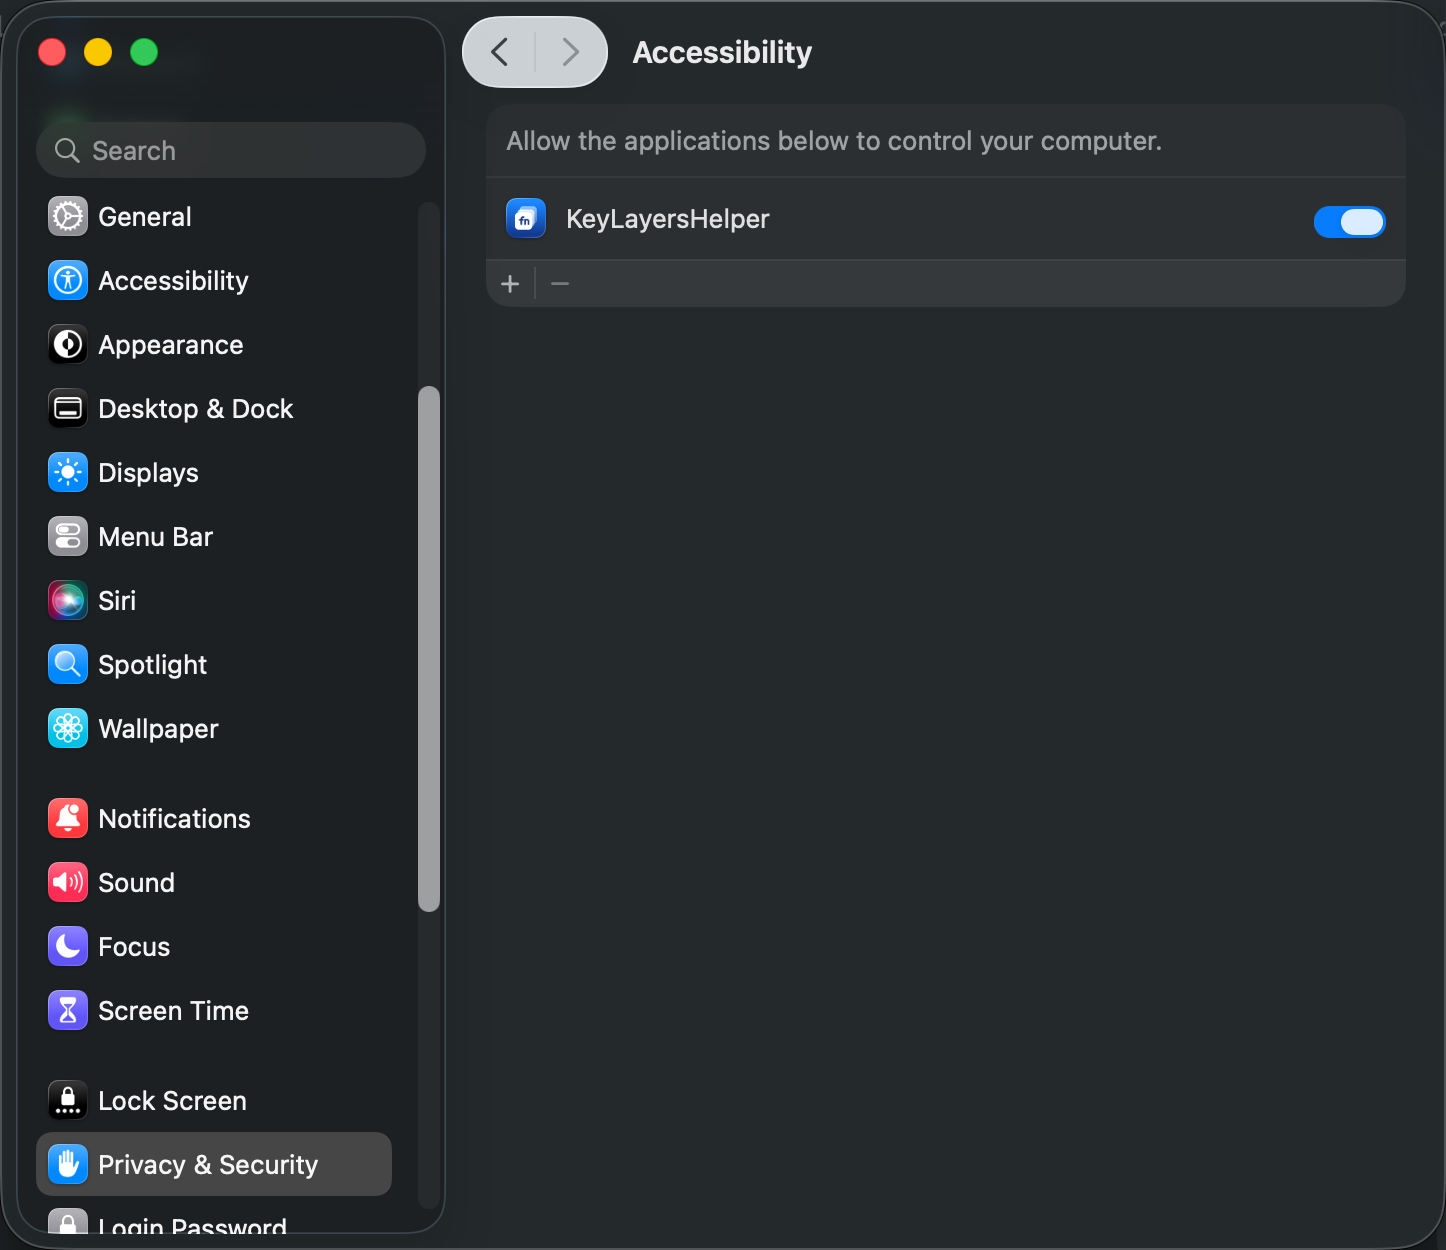
The helper types your remapped keys, which macOS allows only with Accessibility.
When the helper starts, the status area shows Accessibility: not allowed. Click Open System Settings… next to it.


In Privacy & Security → Accessibility, turn on KeyLayersHelper.
3. Input Monitoring
The input service reads your keyboard, which needs Input Monitoring. It runs as part of macOS, not in your login, so macOS can't ask you for this one. You add it by hand.
When the status area says the input service needs Input Monitoring, click Open Input Monitoring…. (You can also open System Settings → Privacy & Security → Input Monitoring yourself.)


Click + below the list.
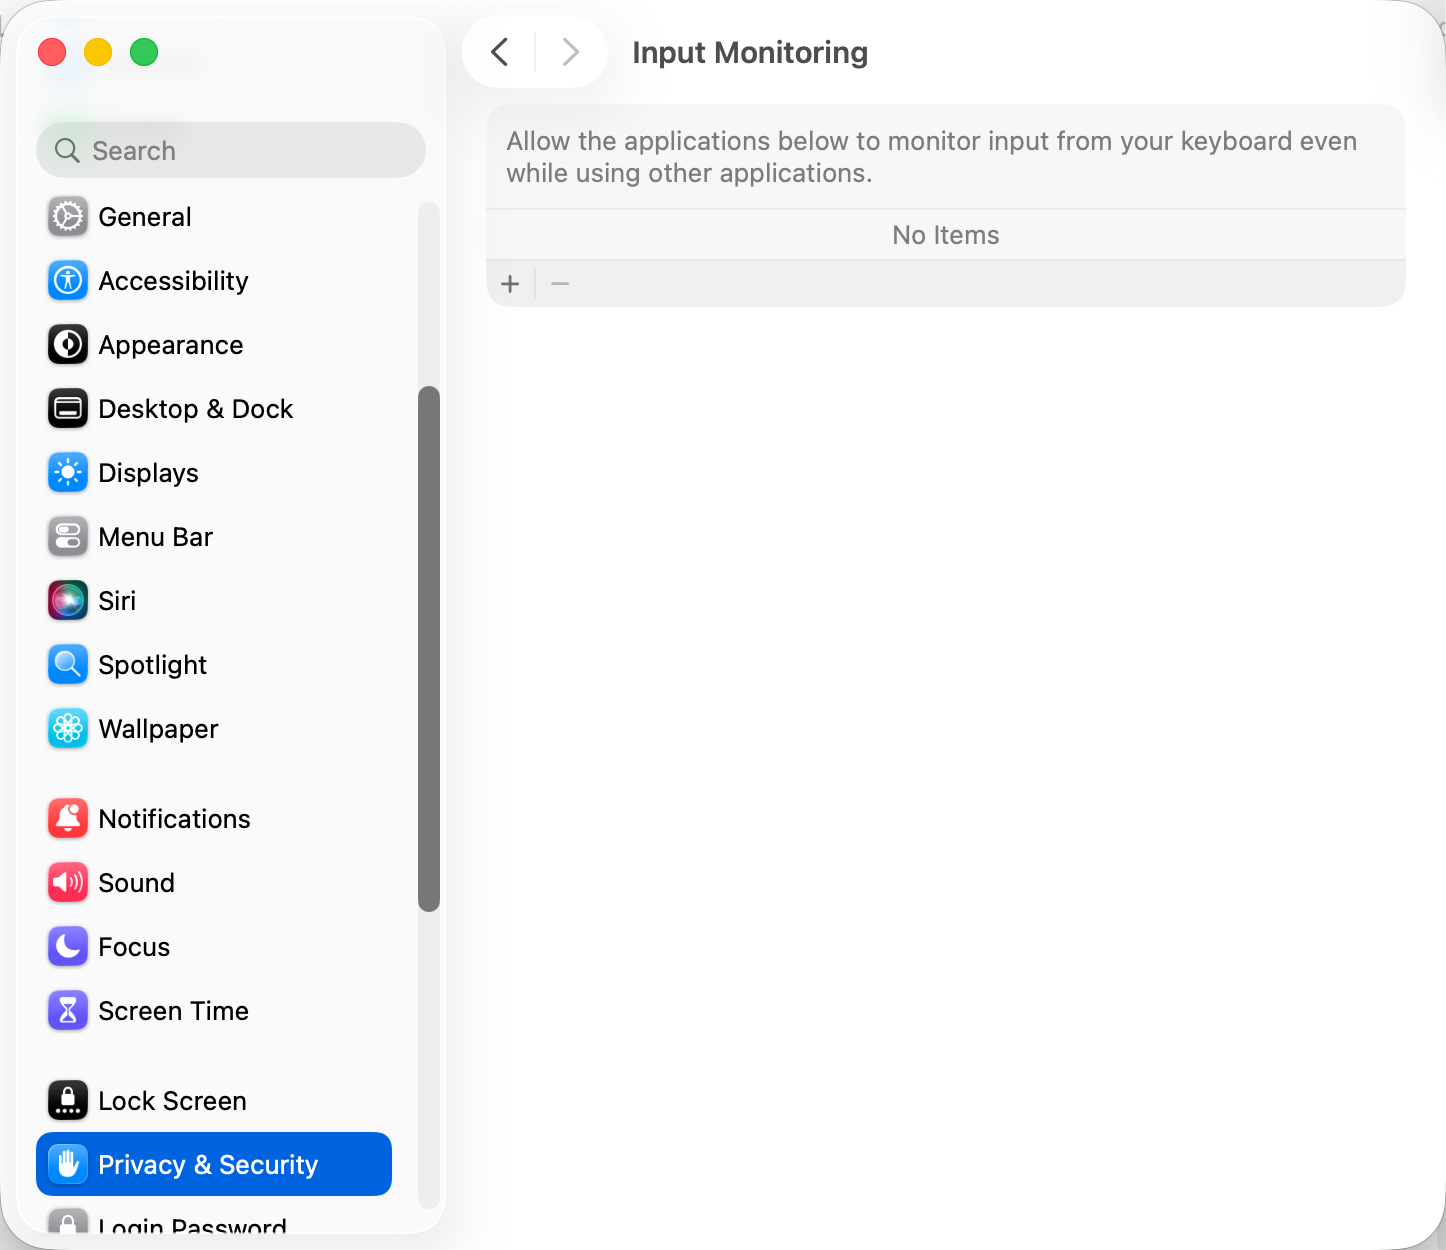
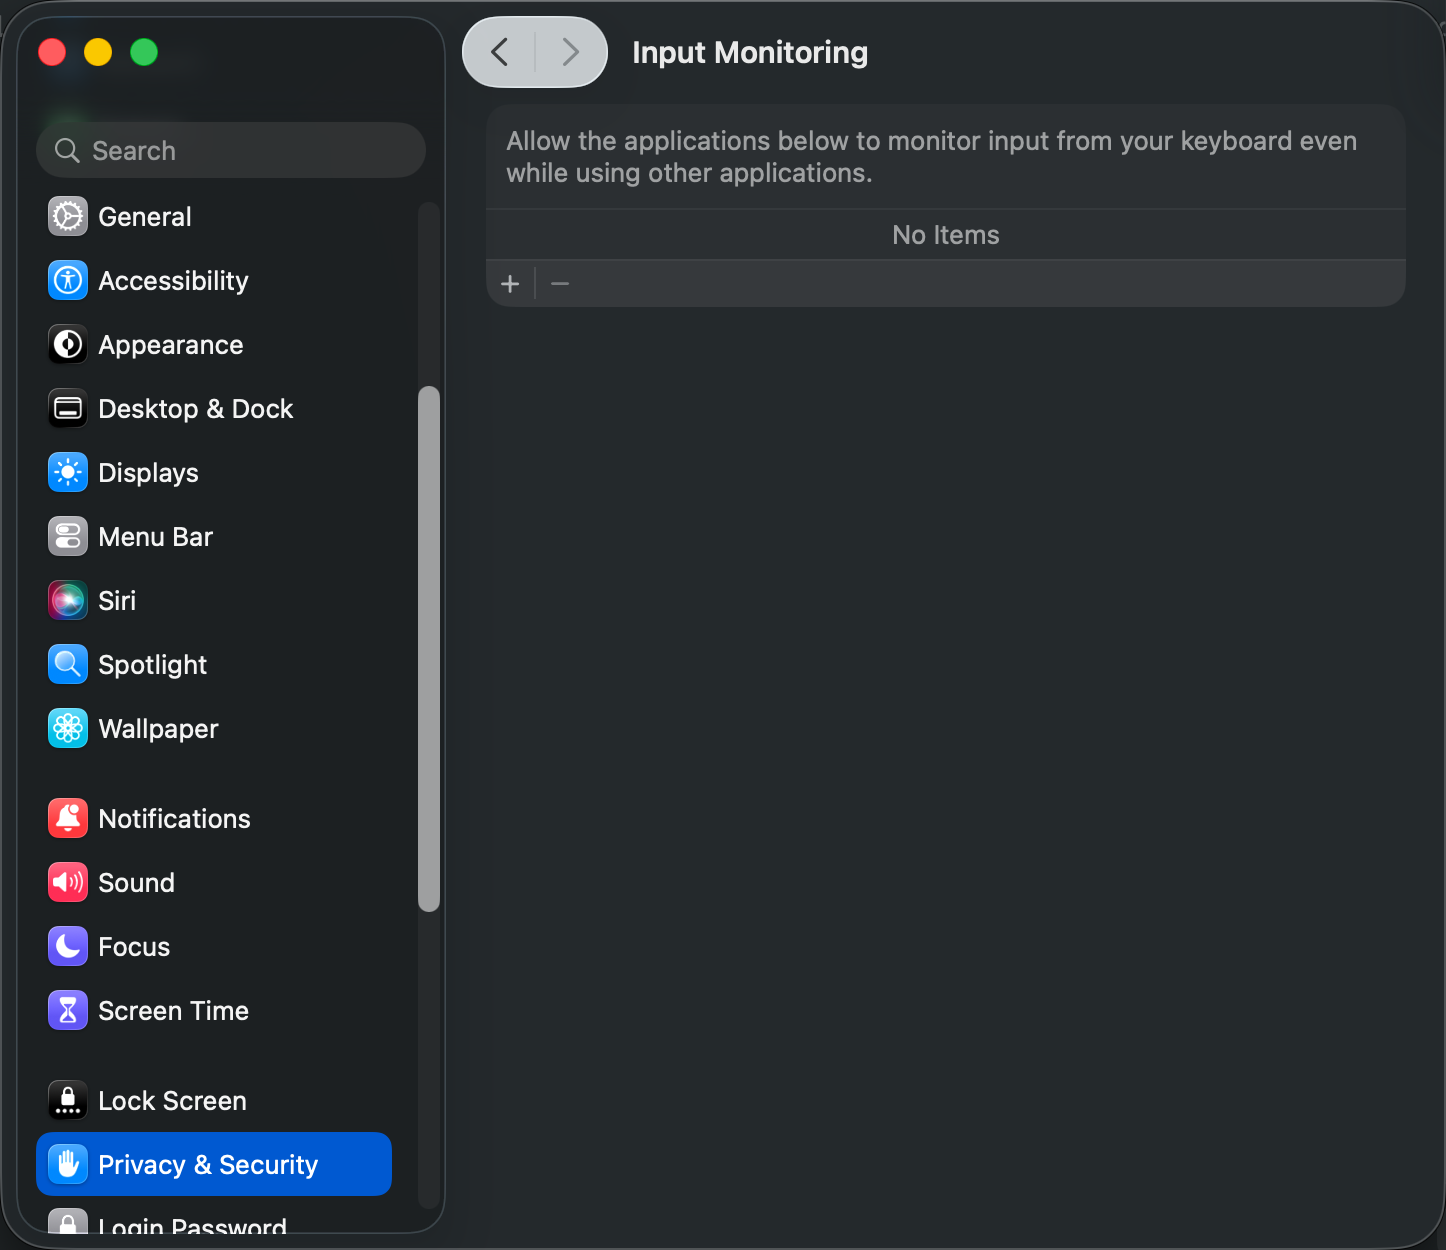
The file picker can't see inside apps by itself. Press ⌘⇧G (Command-Shift-G), paste this path and press Return:
/Applications/KeyLayers.app/Contents/Library/HelperTools/KeyLayersInputDaemon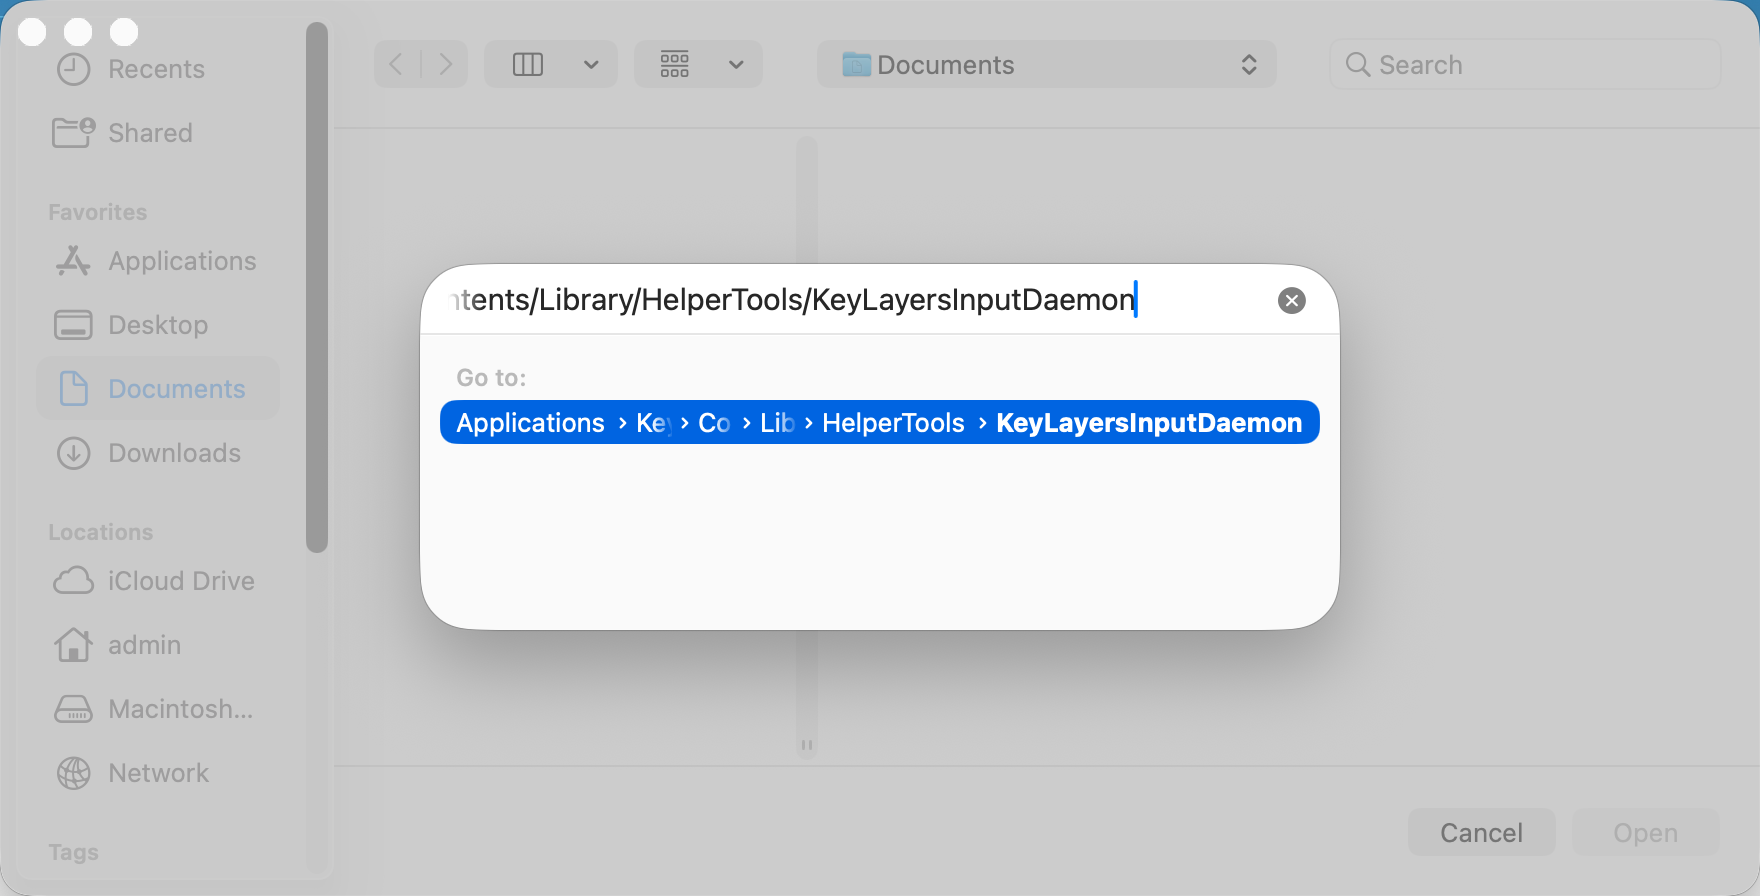
Click Open, then turn on KeyLayersInputDaemon.
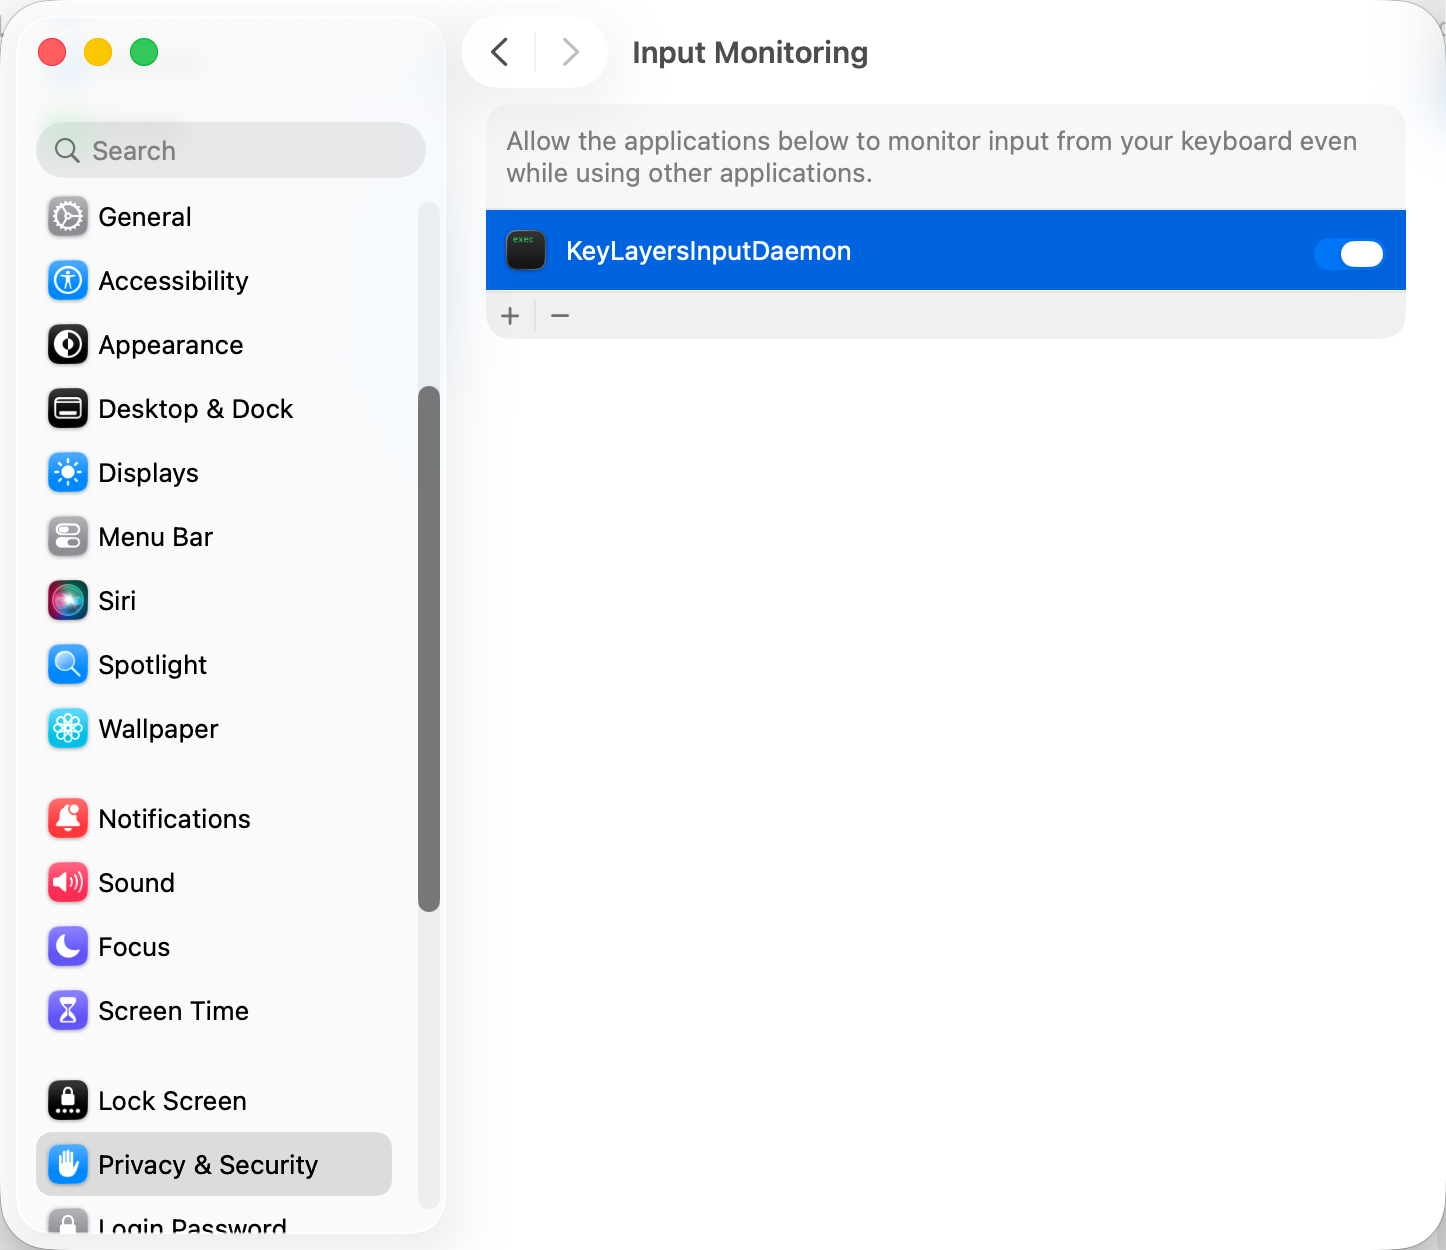
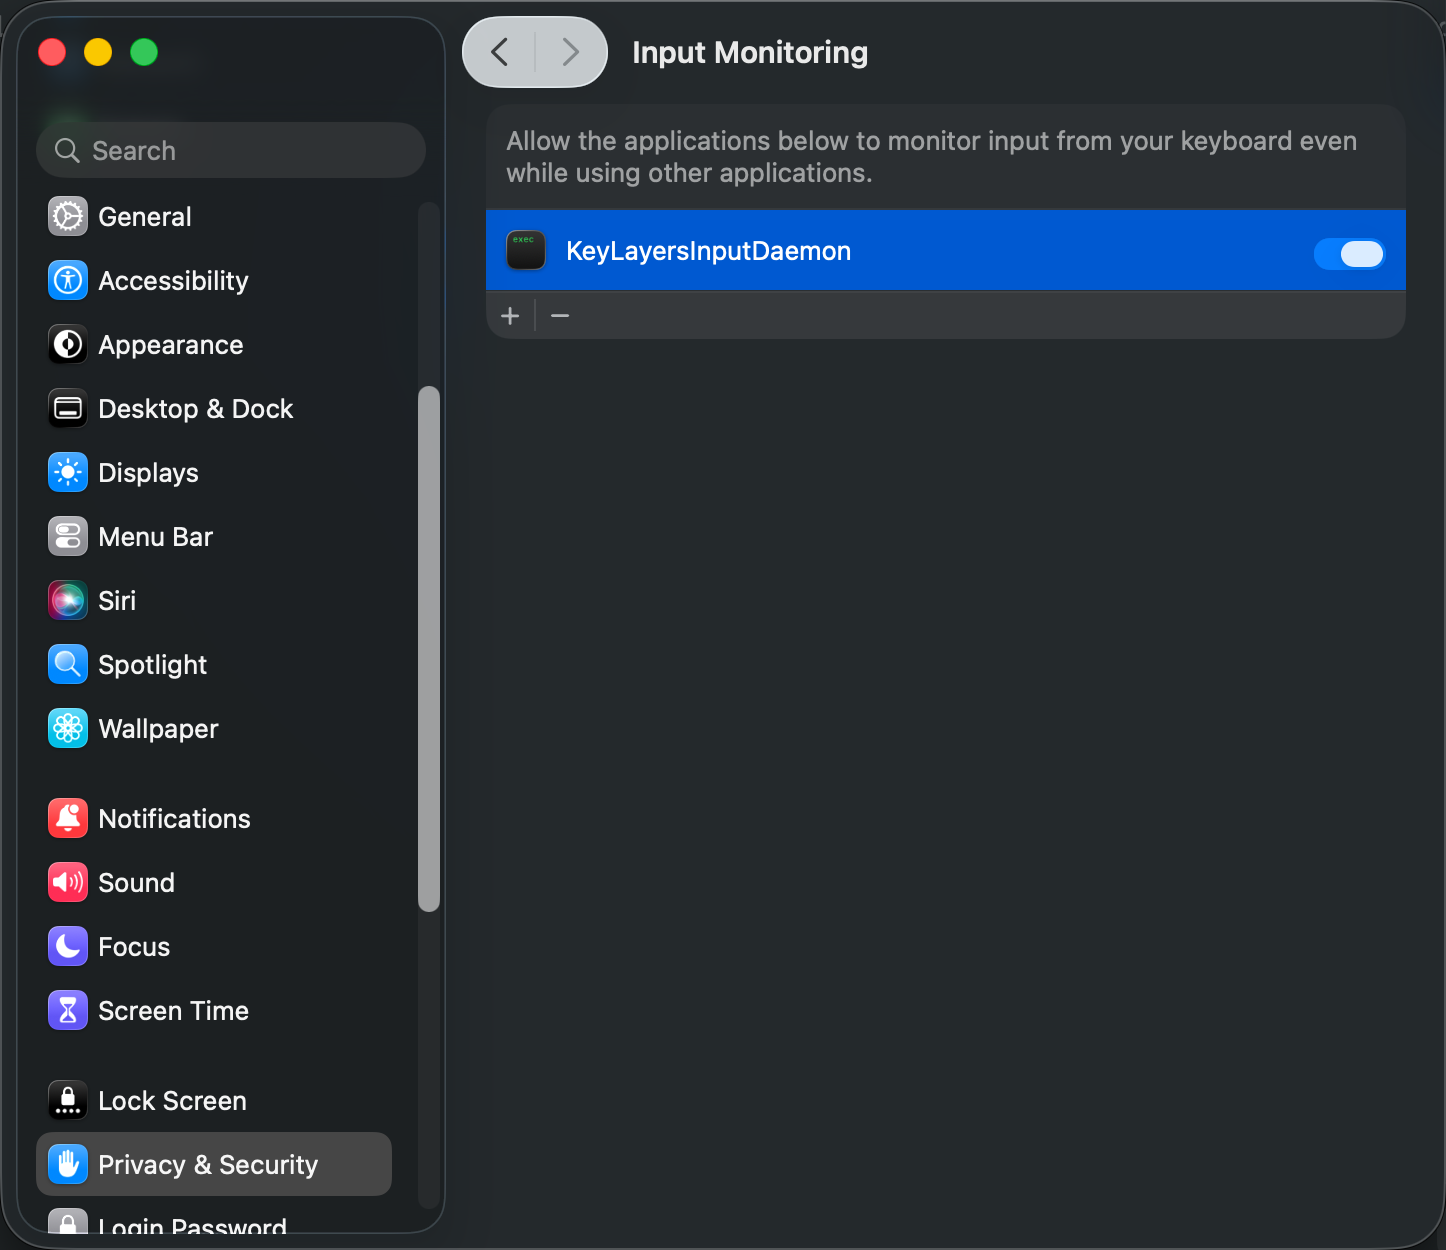
The input service restarts by itself to pick up the permission. That takes up to about 10 seconds.
Done
The status area says Remapping active.


Hold fn and press H J K L: the cursor moves. Next: layers and keys.
If the status area shows something else, Troubleshooting explains each message.